A Simple Guide for Beginners
Disclaimer: Please note that some of the links below are affiliate links. I will earn a small commission if you make qualifying purchases through the links. There is no additional cost to you and it helps me continue doing the work I love (win-win!). Thank you.
As a Food Blogger, besides cooking and developing recipes, the first thing that you need to learn is how to present your food to the world through Food Photography. Professional advertisers say that “eyes eat first!” They are absolutely right. If your food is not attractive and the presentation is less than it could be, clickers and likers will move on to another blogger. Learn to be a food photographer and grow your base!
With millions of Food Bloggers out there, the competition is fierce. There are lots of nuances and a ton of skills to learn in order to be good at food blogging. When I first started, I literally didn’t know anything about food photography. My first photos were unappealing, maybe even ugly, and certainly not presentable. I can’t count how many photos I have taken just to get one shot right. I am sure many of you have experienced the same struggle.
While I’ve learned so much along the way, my standards have also risen higher. When I compare my first photos with the ones I now shoot, I can see that my own food photography is improving. I want to share my tips and thoughts with you. Hopefully, this will be helpful and inspire you to continue to doing the things you love.
1. Always Shoot in Natural Light
The first thing I learned about how to photograph my food is to shoot in natural light. I think this is one of the most important food photography tips for beginners. While there are great photos shot in artificial light by super-professional photographers, natural light is your very best friend when starting out. It requires fewer techniques, less equipment, and is absolutely budget friendly. Overall, you want your food to look artsy and natural at the same time. Regular daylight definitely works the magic, even during winters in Copenhagen where the sunshine is limited.
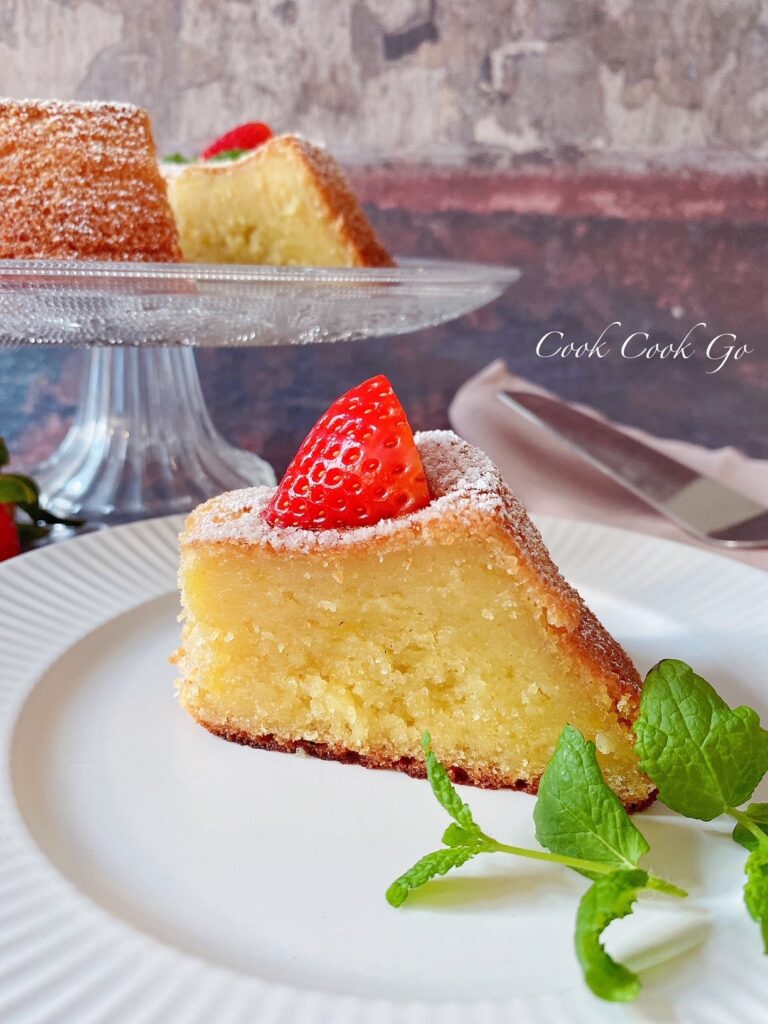
You must pay strict attention to intensity and angles when shooting in natural light. For instance, I love to shoot my food on a beautiful sunny day, but I’m careful not to place the food directly in the light of the sun. This is because the strong light can create dark shadows and harsh aspects which makes the food look unnatural. Instead, you should always find a place that has the sunlight coming in from the side (e.g. a place near the window). Once you’ve found the perfect spot in your kitchen or house, then you can experiment until you’ve learned how to get the best shot.
So, go with the natural light and avoid using the kitchen lights or overhead lights. These lights tend to create undesirable yellowish and greenish hues around your food. Turn off the lights and open the curtains to let nature light the way.
2. Plan Your Shoot and Choose Your Angles
I find it so much easier and more efficient to get the shots I want if I plan it out ahead of time. I will sometimes draw a simple sketch to help me visualize the shoot. Try this and you may find that you will be more confident and prepared and finish your shoots in an efficient way. One of the key reasons to plan your shoot is because different foods have their own unique “glory” time. Most food looks the best immediately after cooking and you will want to take the shot right away to capture its best moments.
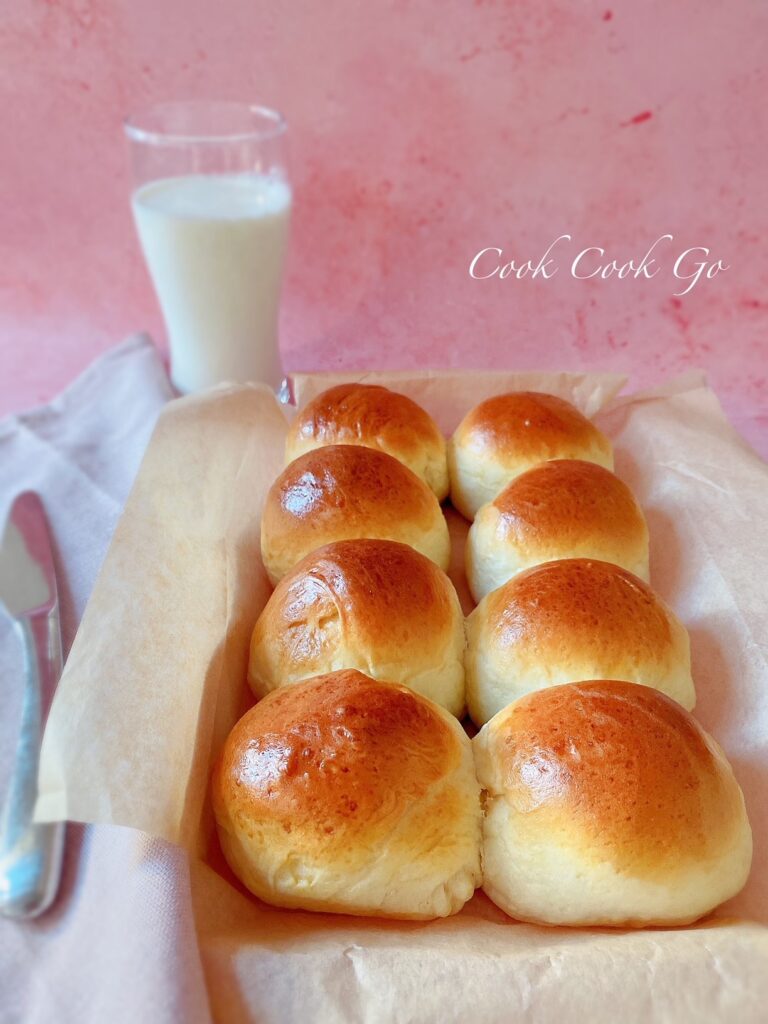
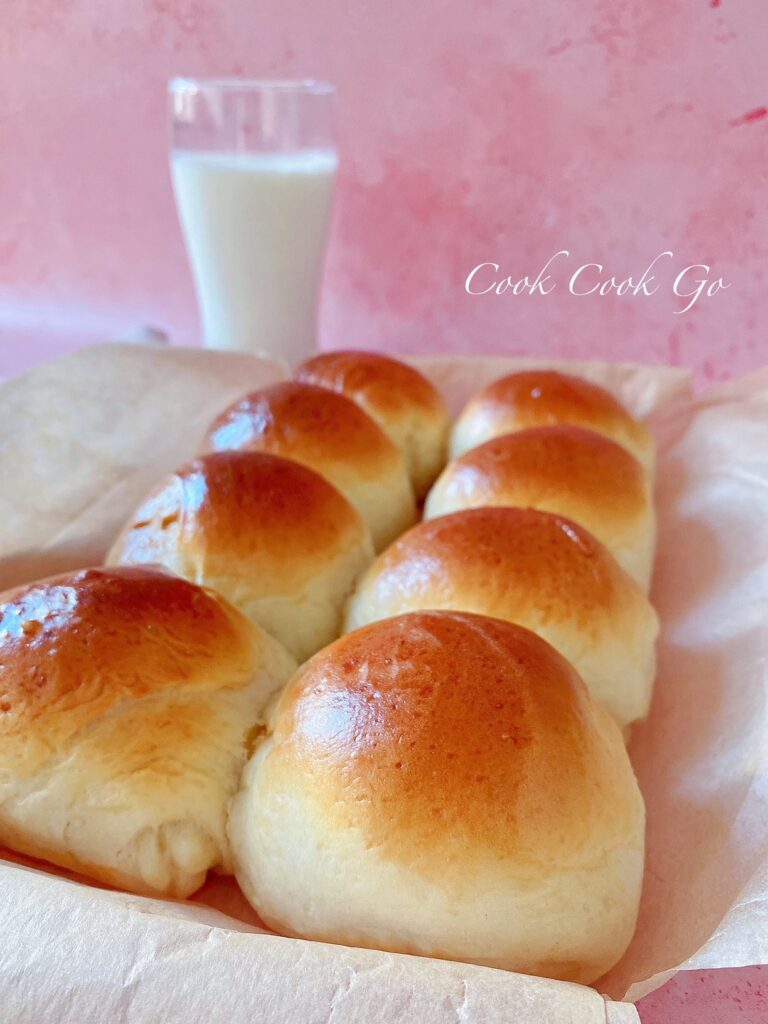
For example, the freshly baked bread with a glossy top truly shines when it just comes out of the oven. Within a few minutes, the bread’s top can get dry and will not look as good in the photo if you don’t take your shots quickly—or brush on more butter! As you can see, if you plan your shoot and know which angle you want to shoot ahead of time, you will be able to capture the best-looking images without feeling stressed. And you will get to taste a nice, warm slice of bread as well.
Yes, I am sure you get my points. Therefore, planning ahead and choosing the angles are definitely a time-saver and will make your shooting process much more efficient and productive.
3. Tell a Story – A little Personal Touch
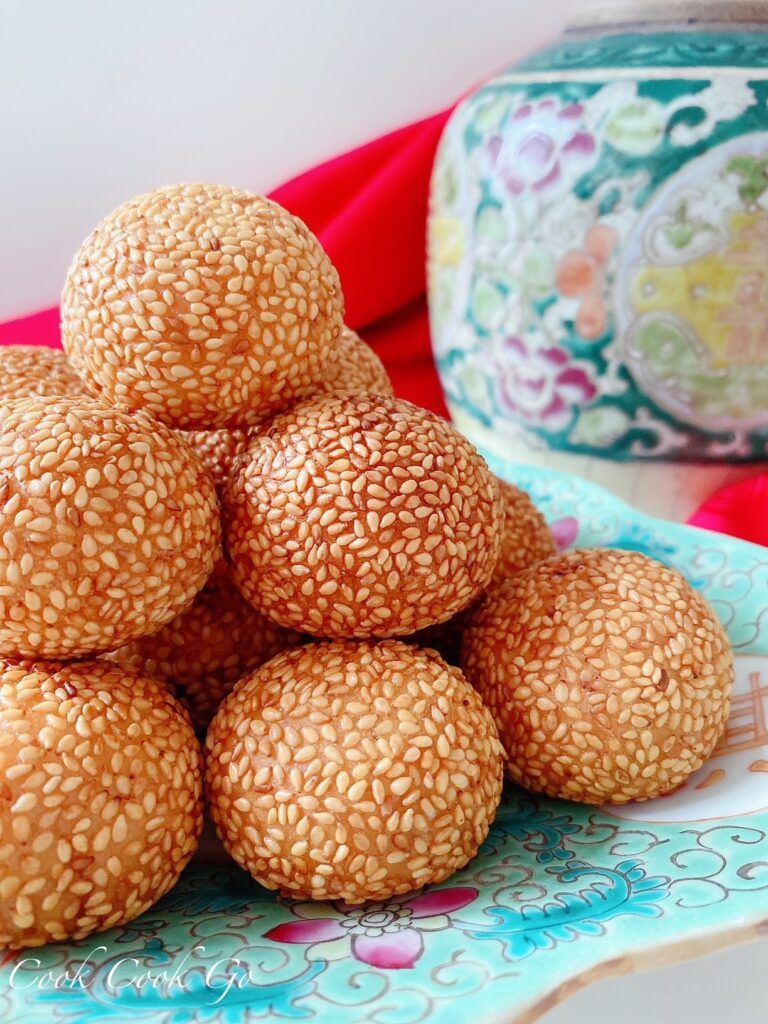
An essential way to attract people to your food is to tell a story in your pictures. It can be through your personal style, food culture, scenery set-up, and colors. You want your photos to be unique which will make people recognize and remember your food whenever they see it. Unlike some other professional food photographers, I prefer simpler elements in my photos. You want your food to be the main focus—the Hero of the story. Everything else, like utensils, cloth, and plates, should be in supporting roles to decorate the setting for the Hero.
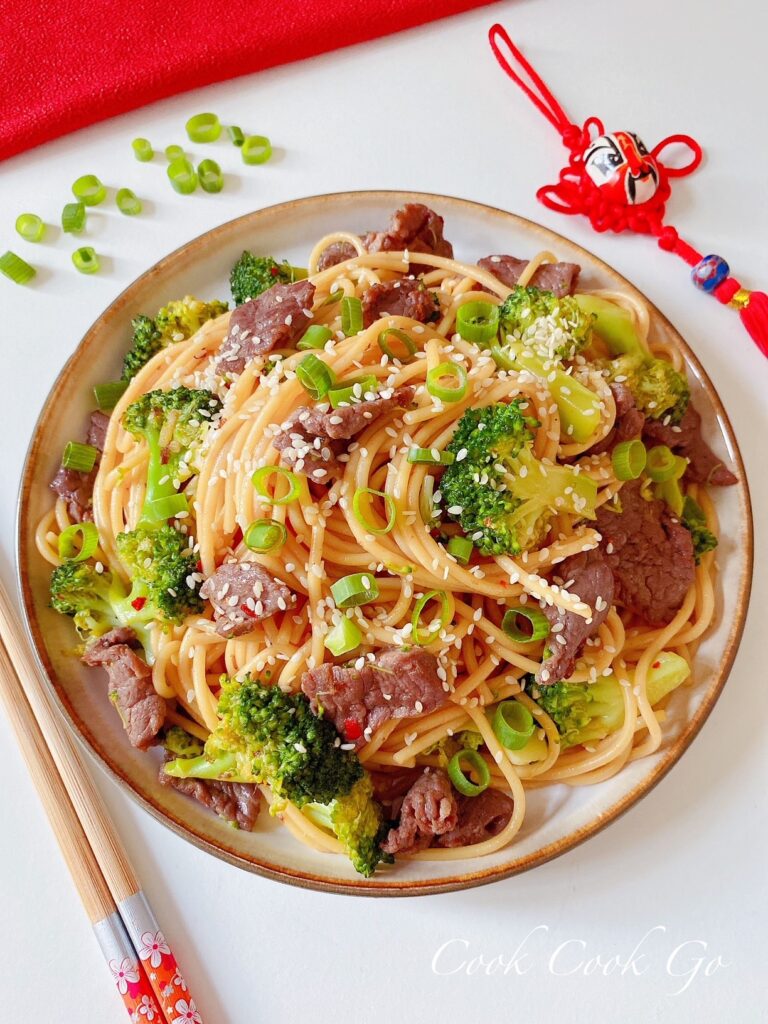
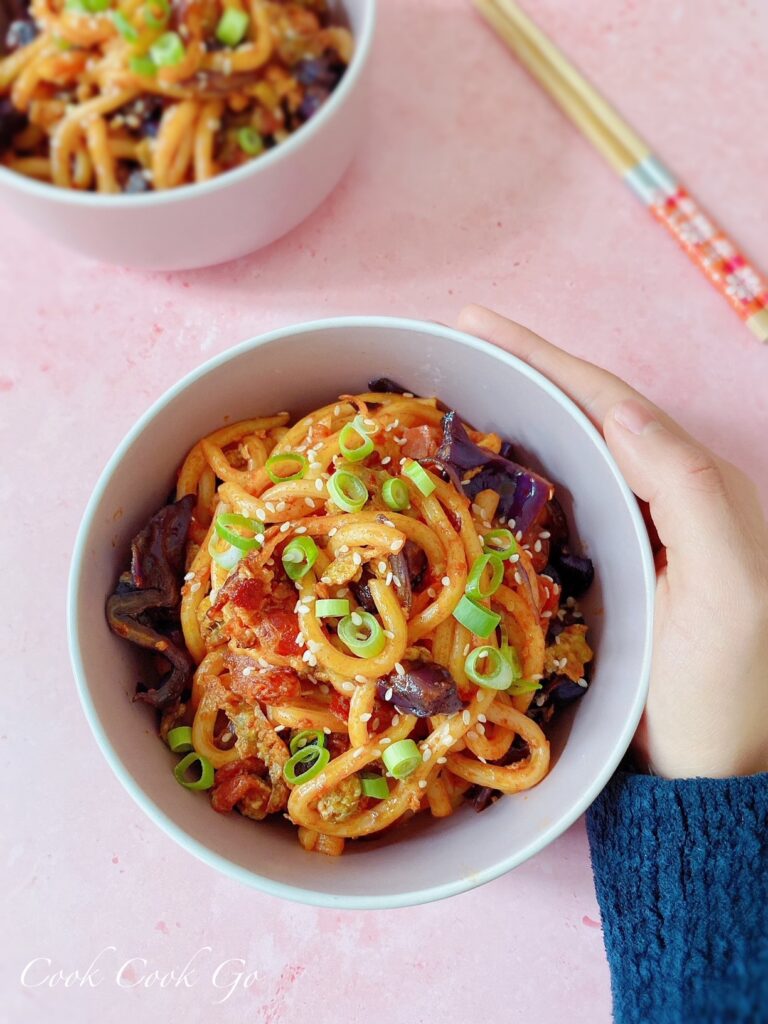
For example, when I make Chinese food, I want people to recognize some Chinese elements in my photos in harmony with Chinese food culture. It can be a Chinese vase, a plate, or even just chopstick or two that can deliver the message. For a more personal touch, you can feature a human element like your hand, as seen below.
4. Compose Your Images with Lines and Layers
This is one of my favorite food photography tips. The Lines and Layers just create more depth and content to your food pictures. A quick way to start is to use simple props and ingredients to create the lines and layered effects.
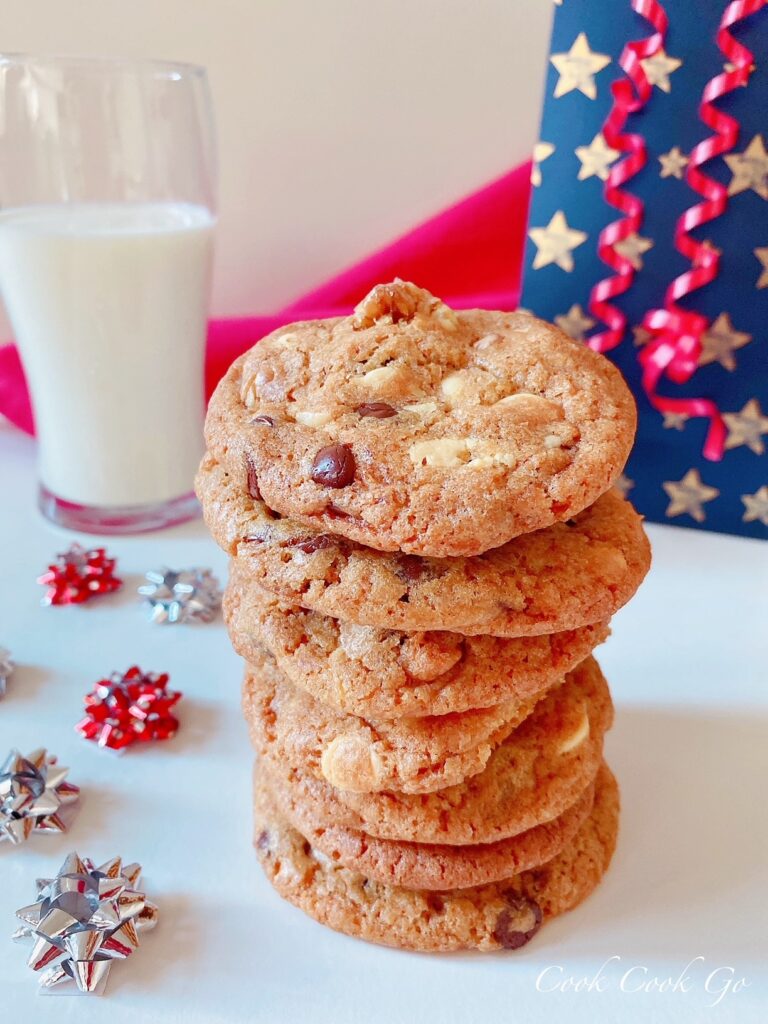
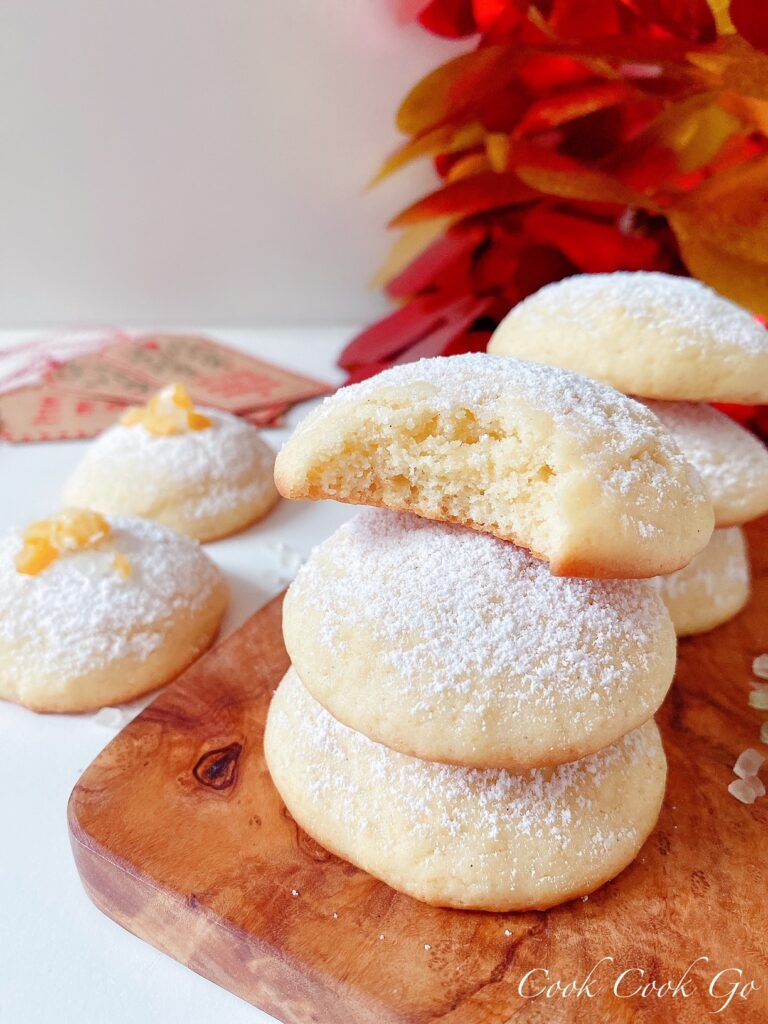
Cookies are one of the easiest foods to demonstrate a line and layered effect without any props. For example, I made these two kinds of Cookies for the holidays. I decorated some small props that work like clues: gift bags, cards, and sprinkles. This all created a festive atmosphere around the Cookies. Besides stacking the Cookies to create the layers, these little gift decorations on the side create a nice line. These simple additions help make the images more interesting to look at. The half glass of cold milk and the once-bitten cookie are clear references and, maybe subconscious hunger motivators, that these treats are already being enjoyed.
5. Use Backdrops to Level up Your Game
When you first starting out, you might be nervous about how to make your food look more attractive. Do I need fancy props and more beautiful tableware? No. You can raise the presentation quickly and inexpensively with a few neutral Backdrops to create a simple but manifestly eye-catching effect. You will learn how colors mix and match, if you don’t already have a keen sense of complementary colors!
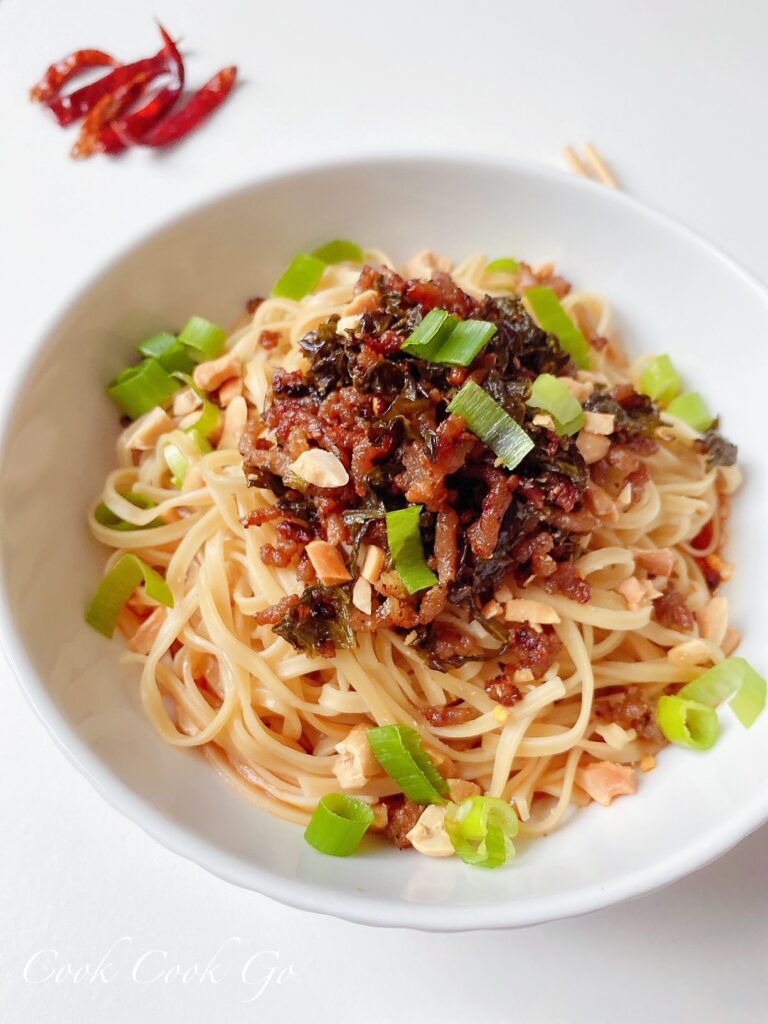
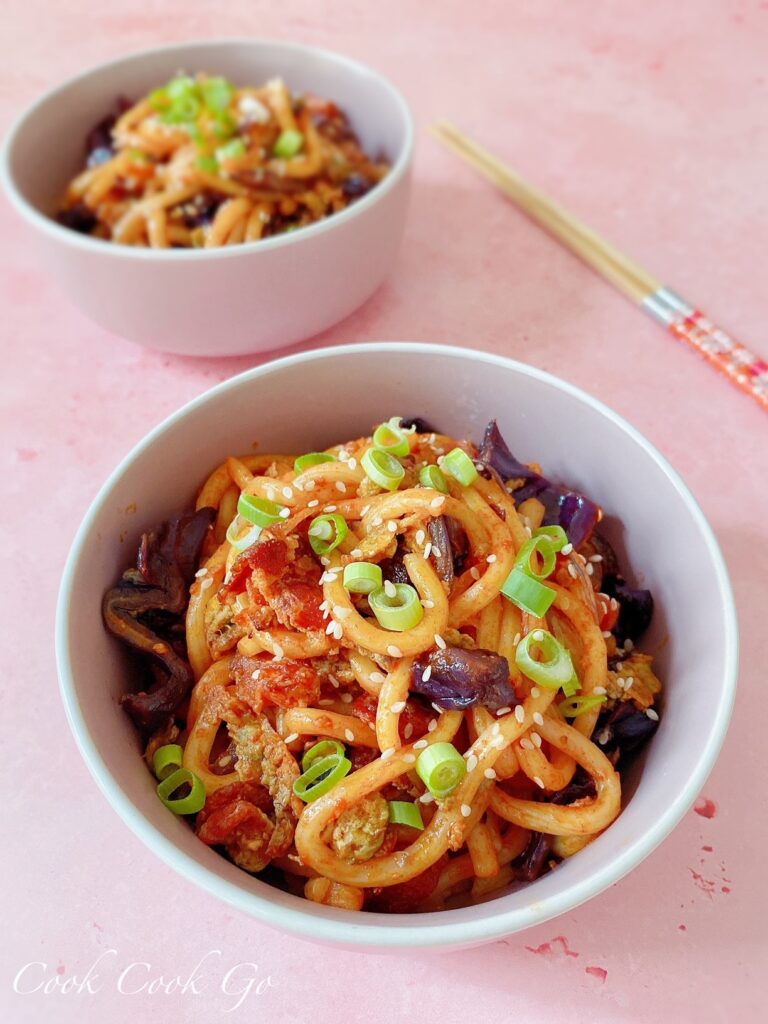
Personally, with the help of backdrops, I often reduce the props. As you can see in the photos below, I did not add much to the dishes themselves. I often use the backdrops that match the color of my bowls—white and pink in these two examples. The color of the backdrop is simple but the food itself is colorful. There is a balance! The main prop I used here are chopsticks and some red peppers for my Sichuan Dan Dan Noodles (left) and Udon Noodles (right).
In fact, your kitchen table or your countertop can also be used as the background of your food images if they are the kind of color, texture, and style that you like. Otherwise, some investment in a few good backdrops are definitely worth the small expense!
More Resources to Upgrade Your Food Photography
If you want to learn more about Food Photography at an in-depth level and be a professional food photographer, I highly recommend that you check out PinchOfYum food blog, founded by Lindsay and Bjork Ostrom. PinchOfYum is one of my favorite food blogs on the internet.
Lindsay and Bjork provide a step-by-step Tasty Food Photography Ebook that is packed with tips, tricks, and video tutorials to teach you much of what you need to know about food photography. You will also get to learn how to edit your food photos like a pro. The content is absolutely winning! The value of the Ebook is definitely worth more than the $29 current price.

Besides Food Photography Ebook, PinchofYum also has an online Food Blogger Community – Food Blogger Pro which teaches you everything about how to become successful as a Food Blogger. If you are serious about food blogging and want to make money from your blog, Food Blogger Pro is a great place to learn from industry experts and other bloggers who can help advance your online business much faster. For example, you will learn technical skills on how to drive traffic and monetize your food blog in various ways. They also offer Food Photography Tips to their members. If you are not sure where to start, you can first try listening to their weekly podcast for free here.

Signing up is really easy. You can visit the link here to select a monthly or yearly membership. If you enroll for an annual membership, you will get one-year of access to Nutrifox, which is a tool that allows you to share and create nutrition labels on your recipes. This is a very good bonus for everyone interested in food!
Food Blogger Pro is a fun place to meet other creative and talented food bloggers just like you and from all around the world. It’s always nice to be a member of the community that is uplifting and inspiring.

Final Words
I really hope these Food Photography Tips have been helpful and I wish you the best of luck on your food blog/photography journey. If you have any questions, please feel free to drop them in the comment section below. Now, go shoot some nice photos for us all to enjoy!
P.S. If you also want to learn how to start a food blog from scratch, check out How to Start a Food Blog: Step by Step.
