
This Korean Kimchi and Bacon Fried Rice is inspired by the Korean traditional way of cooking kimchi fried rice. Because I want to implement a “fusion” food concept into my recipes, I added a little bacon and the experiment worked successfully! You will be surprised how good it is. The Korean flavors were enhanced by the infusion of Danish bacon to create a special East-meets-West dish!
Korean Kimchi and Bacon Fried Rice is a perfect comfort food. You can enjoy this as a weeknight meal or a delightful lunch. The recipe is simple and easy to make with ingredients that can be easily found in your kitchen. The spicy and savory flavor transcends into each mouthful that makes you crave for more.
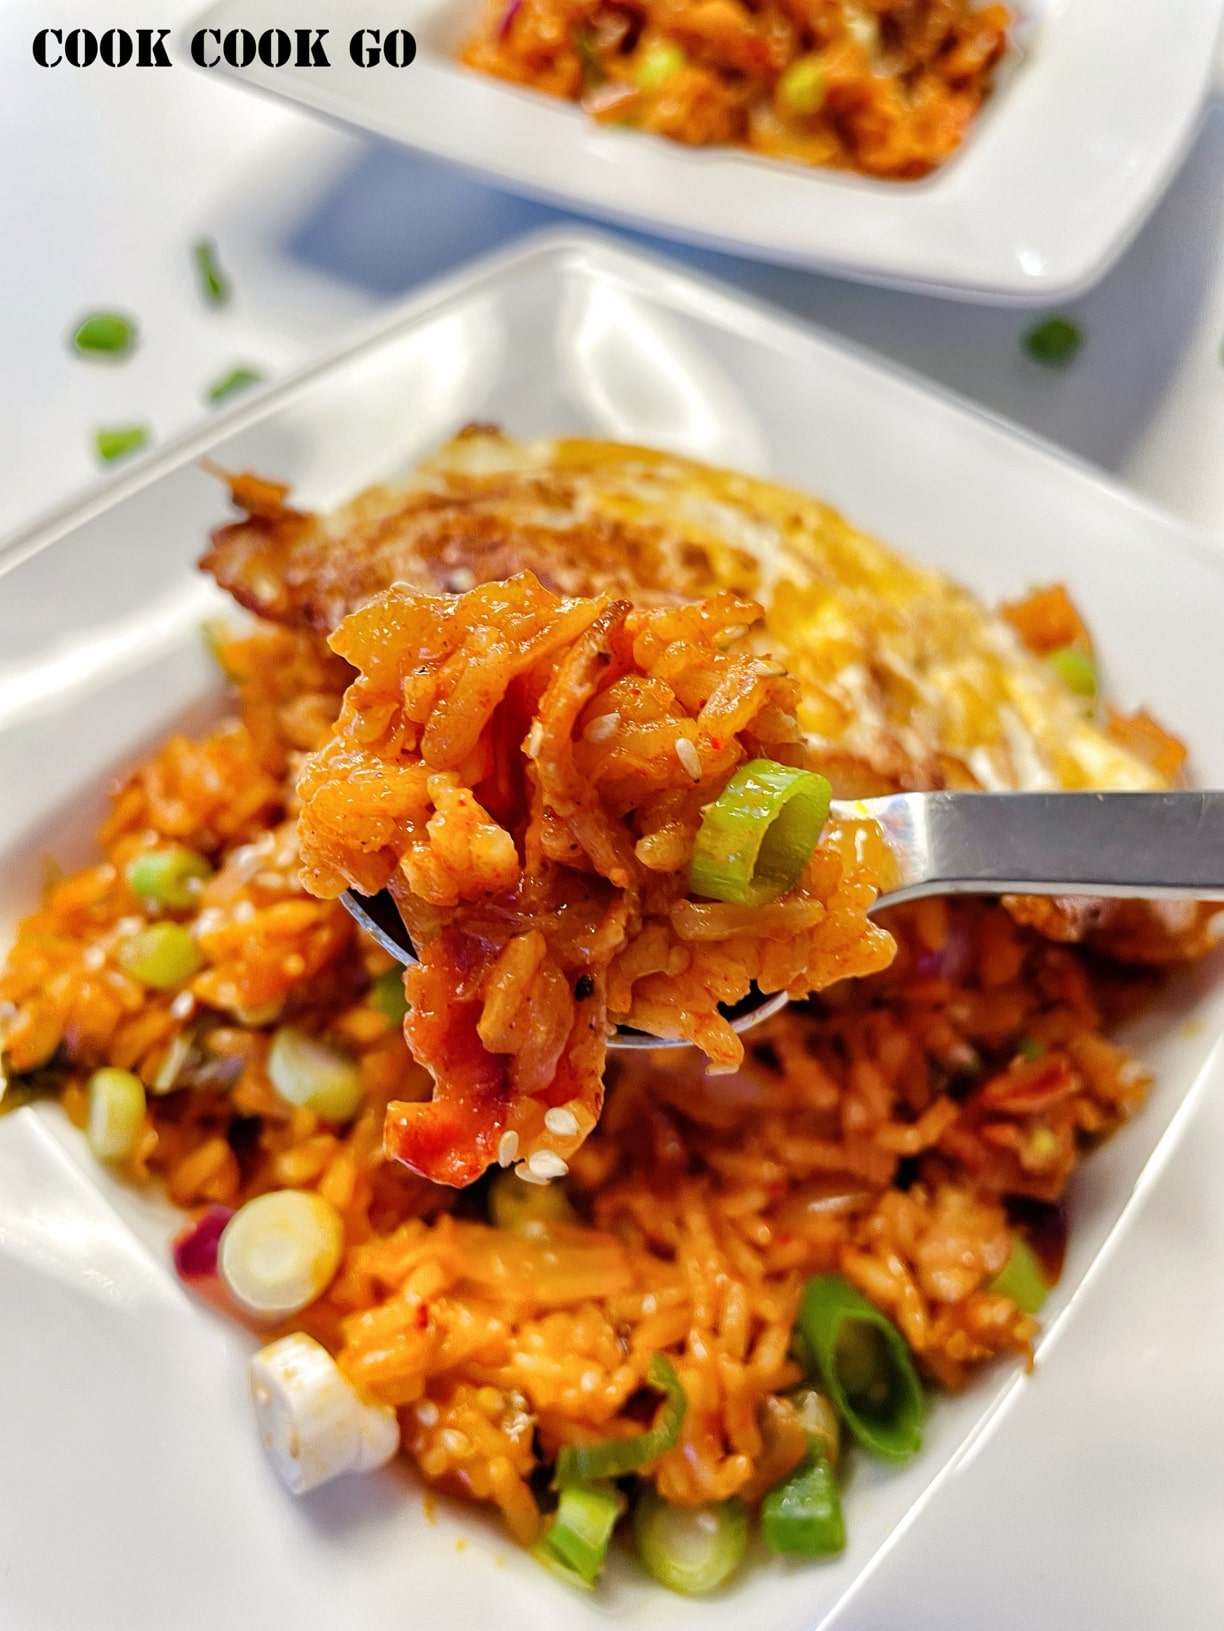
WHY YOU WILL LOVE THIS KIMCHI FRIED RICE
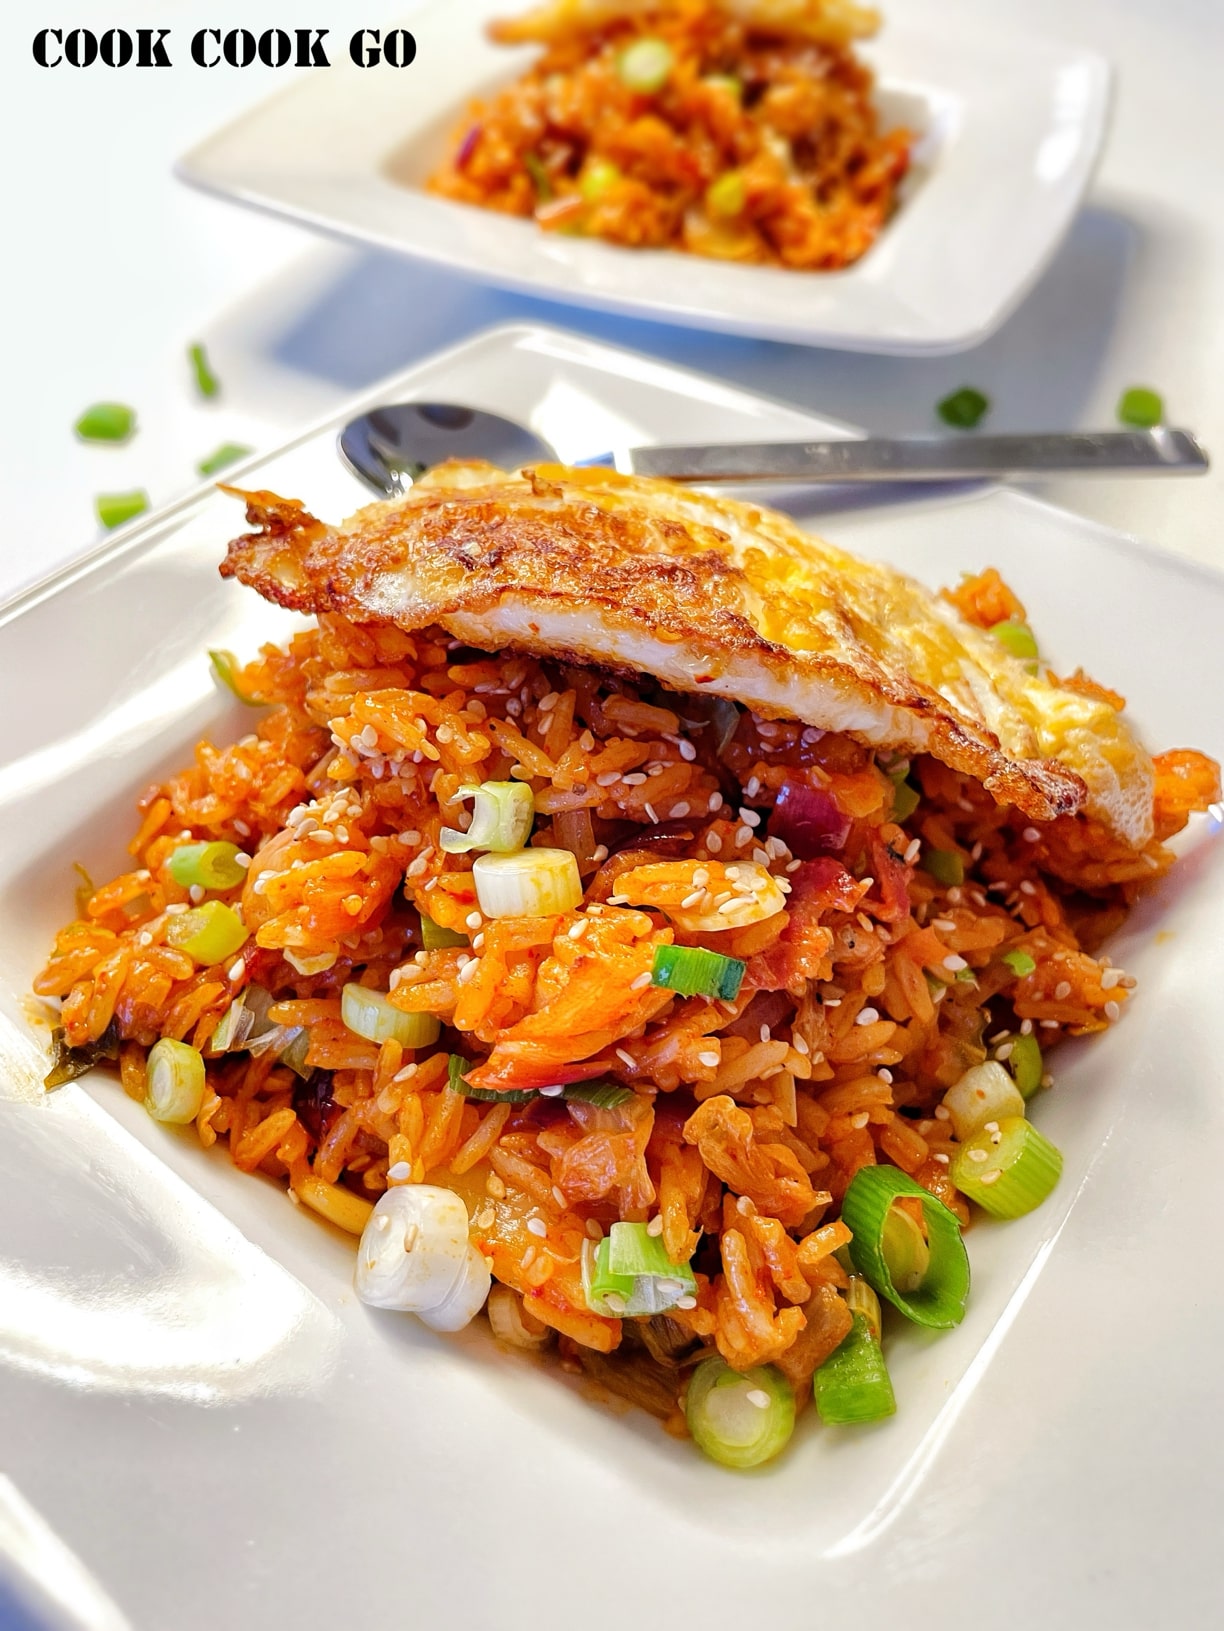
KIMCHI
I bought my Kimchi from the local Asian store. The brand I really like is named JONGGA and the kimchi is made in Korea. The kimchi tastes absolutely authentic—because it is!
RICE
I use Jasmine Rice in this recipe. Chinese chefs often say that it is better to use cold (overnight leftover) rice to make fried rice because it contains less water. Thus, the texture of the fried rice will stay firmer and be less mushy texture compared to freshly cooked rice. As a matter of fact, I think this is debatable. I have tried both ways and I believe the key importance is in the method instead of in the rice. You can use either. For my recipe, I use freshly cooked rice and set it aside to cool down a bit, while preparing the other ingredients. The result is absolutely delicious with all the flavors!
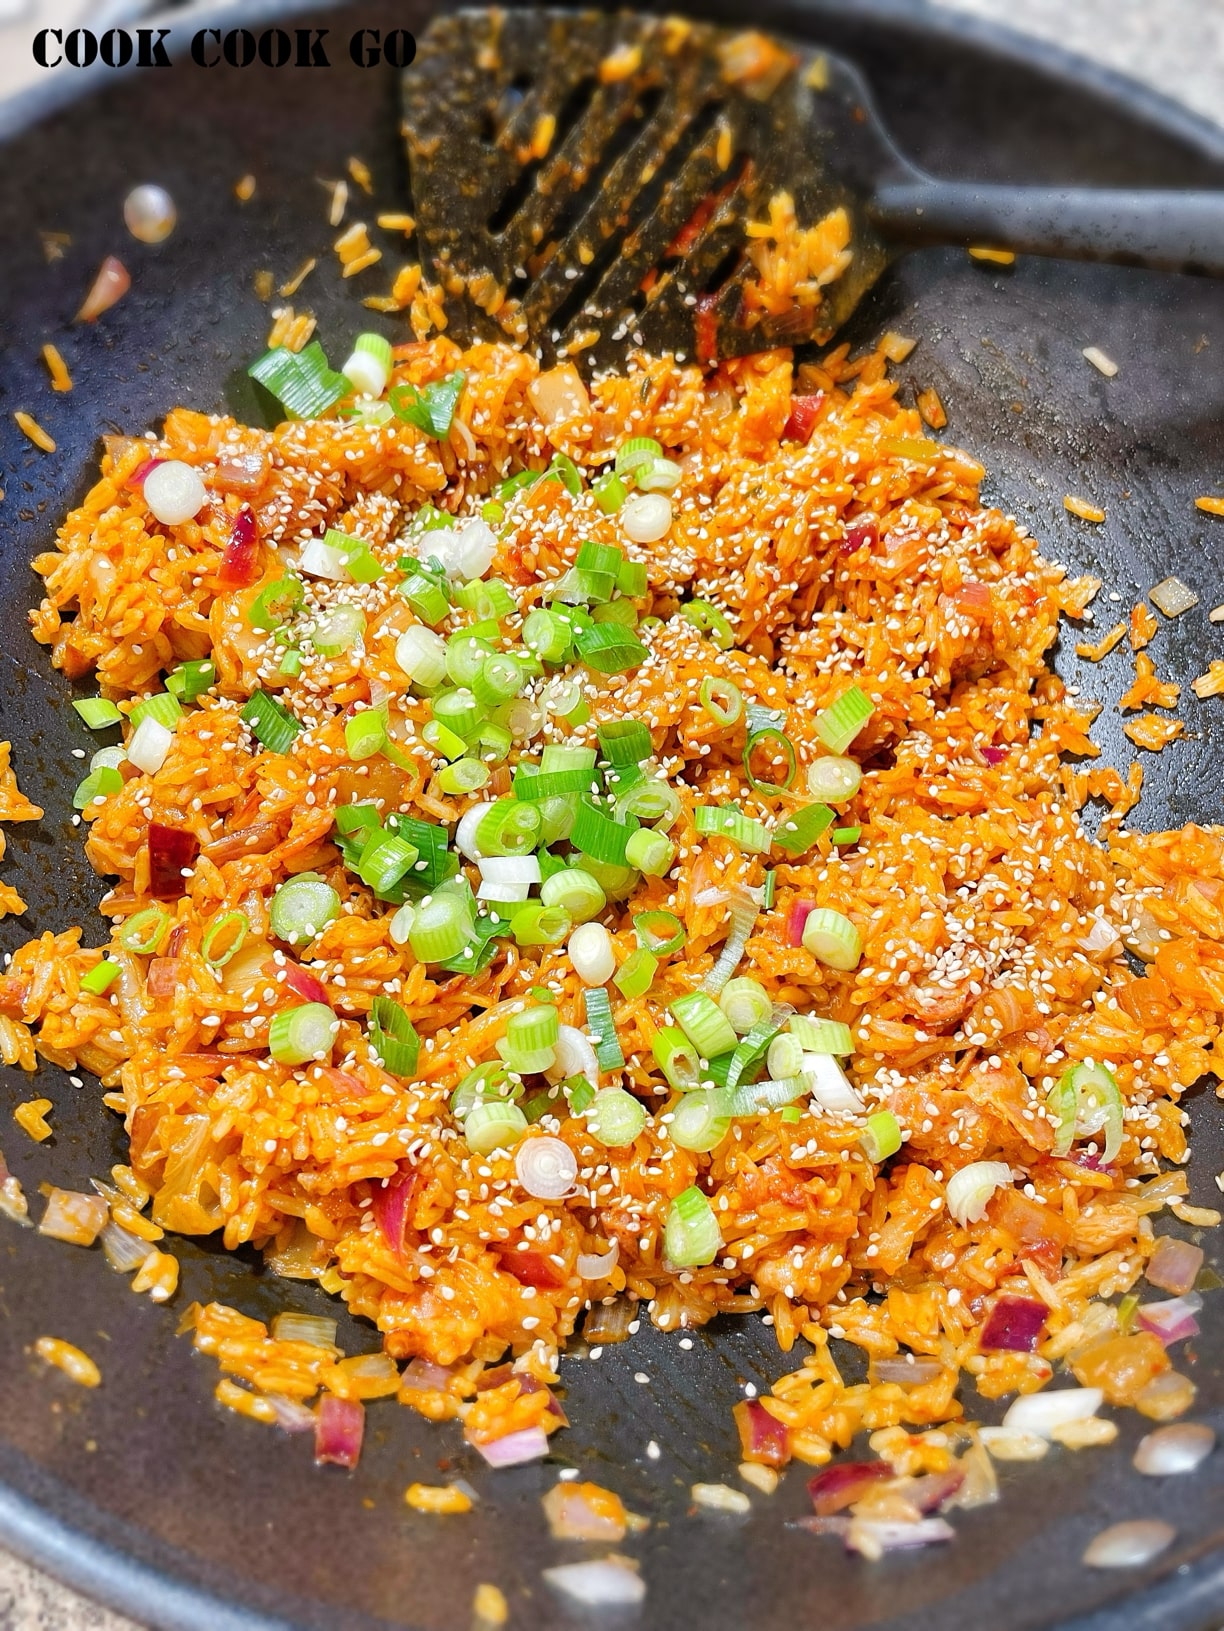
THE KEY SPICY SAUCE
The key spicy sauce in this recipe is called Gochujang. Gochujang is one of the most famous Korean sauces. It is a hot red pepper paste that is used throughout Korean cooking culture. I especially love its spicy flavor!
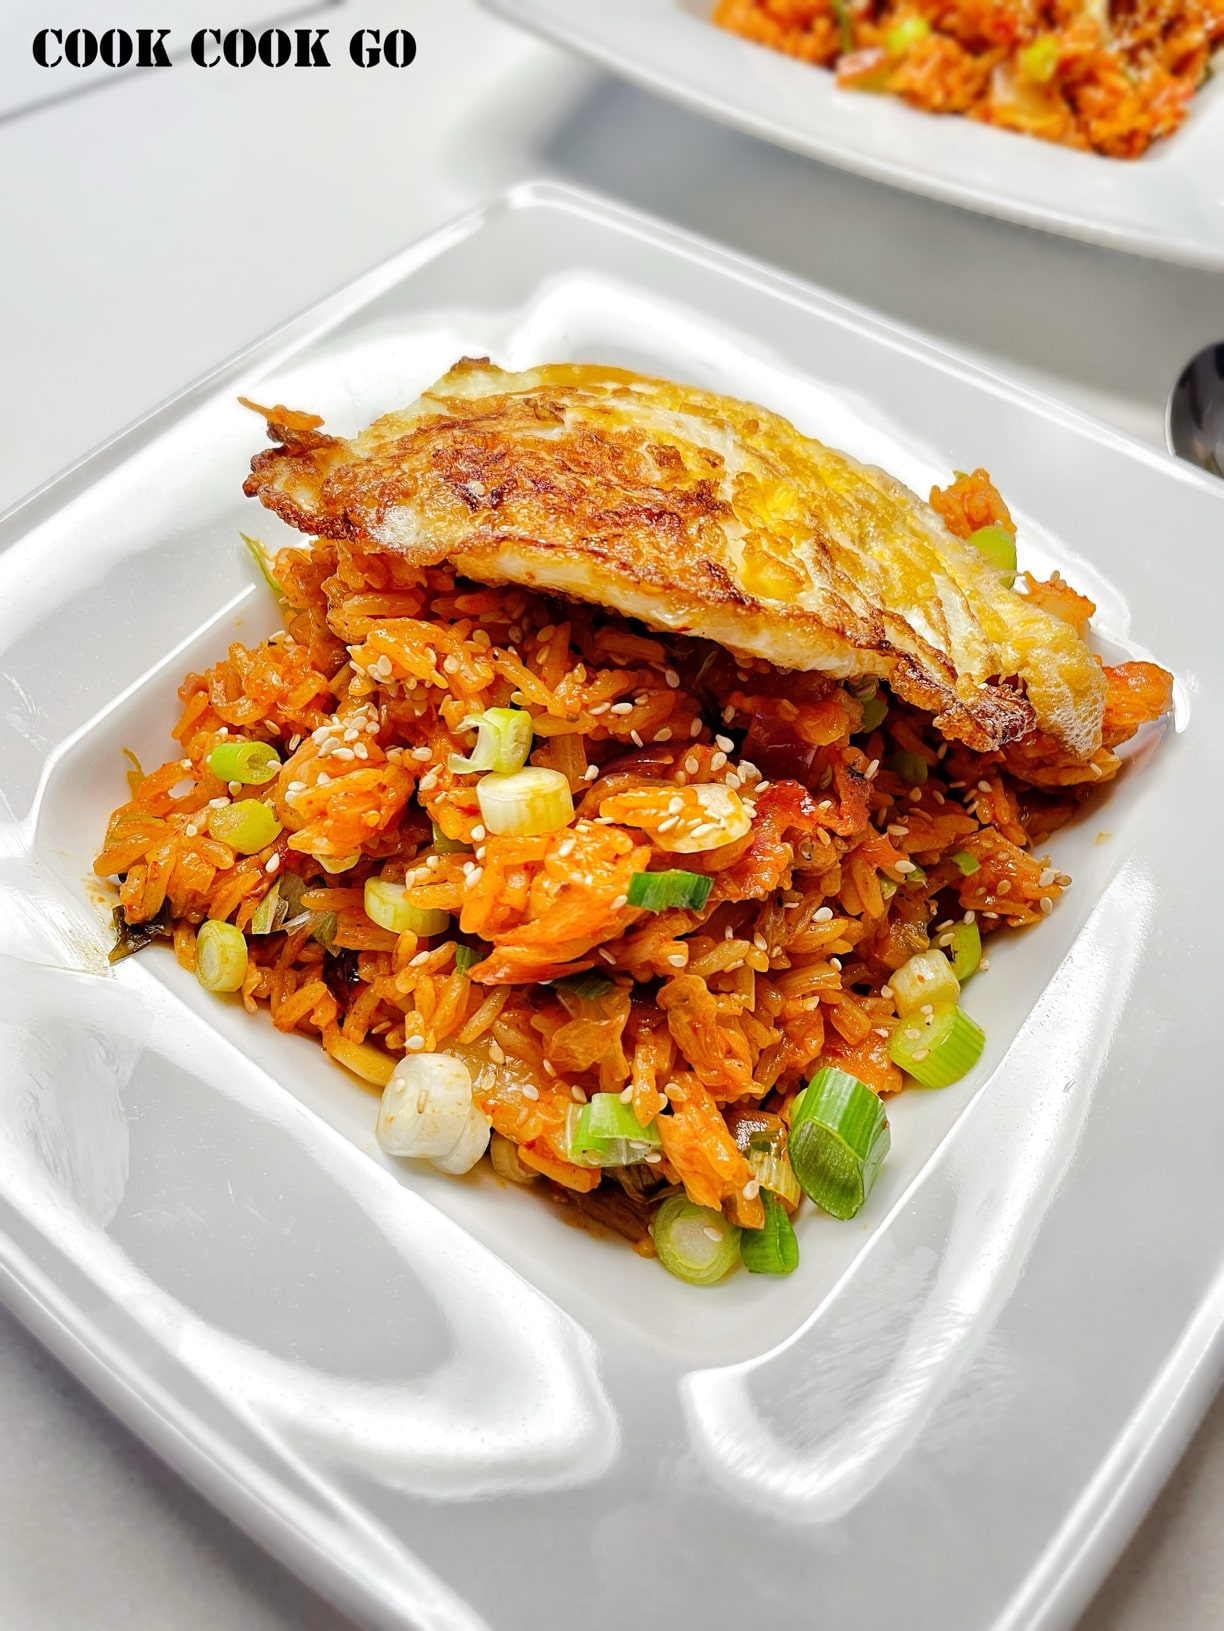
HOW TO MAKE THIS KOREAN KIMCHI BACON FRIED RICE
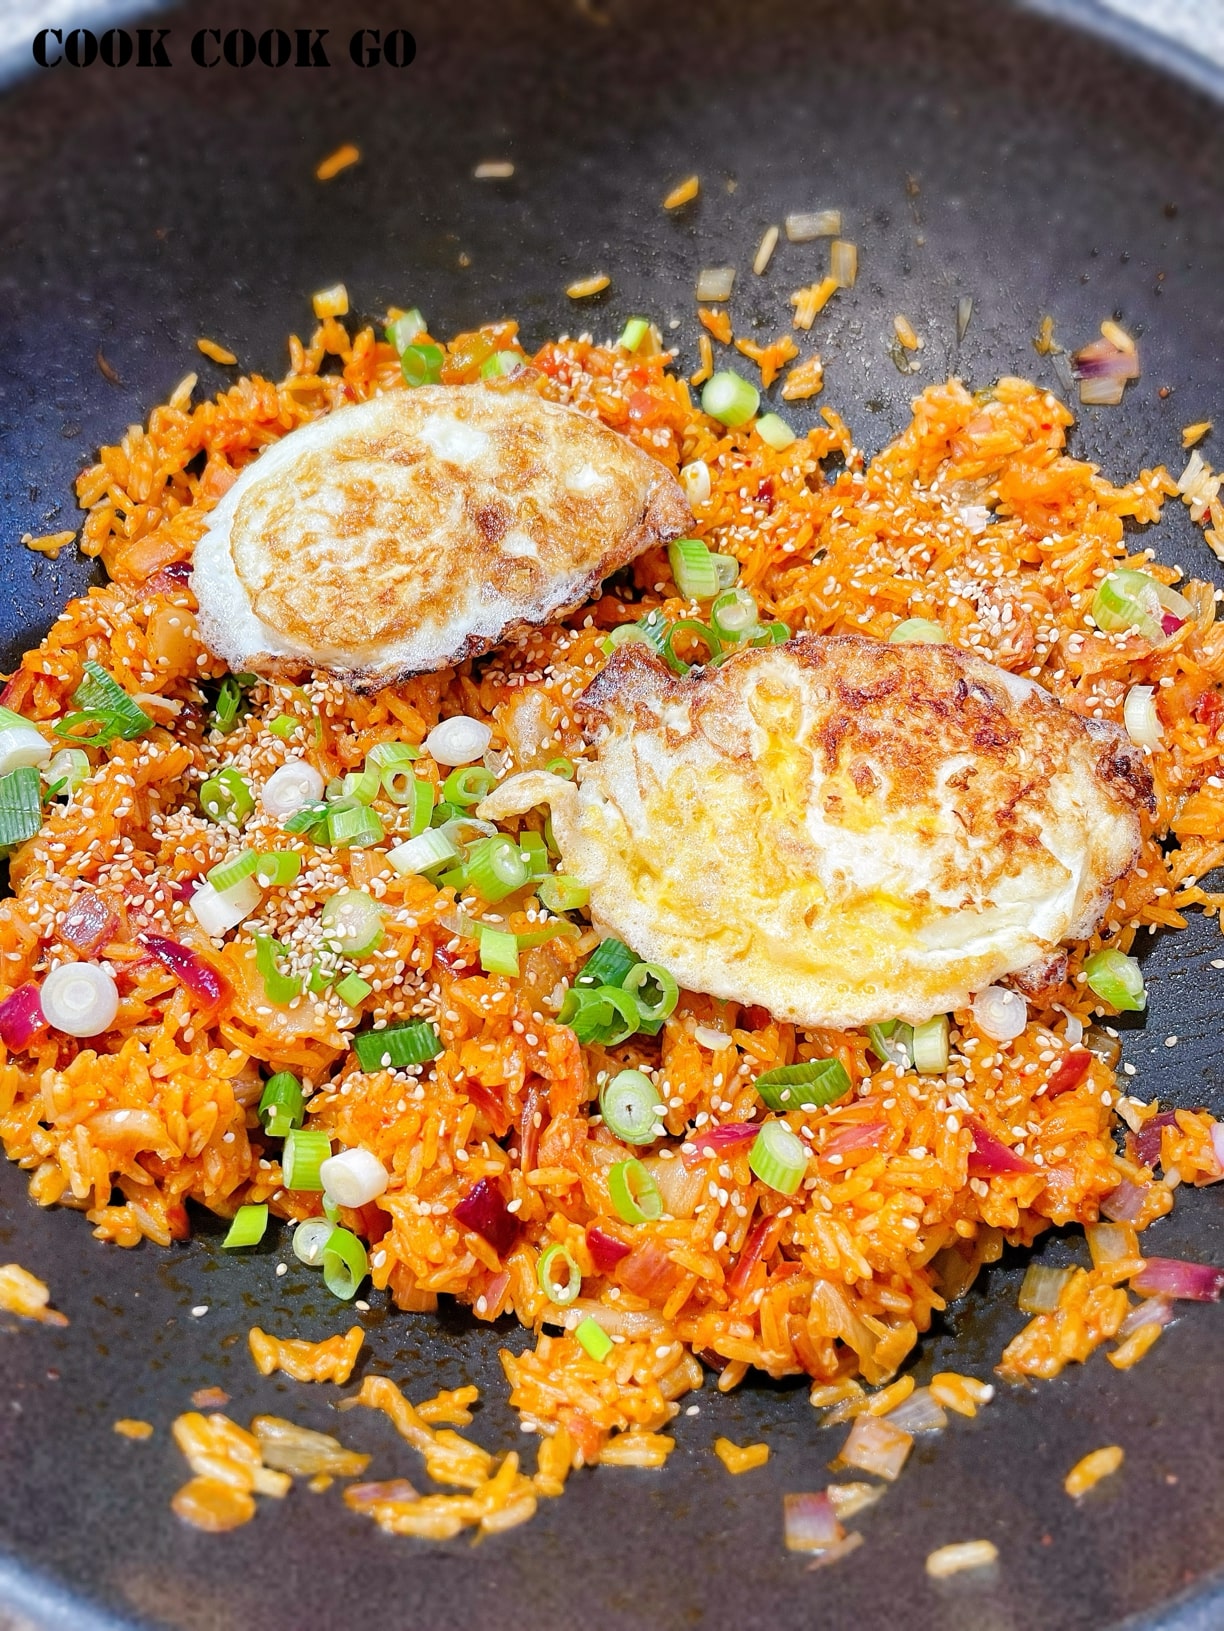

I really love the combination of Bacon and Kimchi flavors. Personally, I can eat half of this amount in one meal if I use it as an entrée–that is how much I love this! The fried eggs add an aesthetic beauty and taste that is very satisfying.
I hope you enjoy making this special Korean Kimchi and Bacon Fried Rice fusion recipe!
MORE FRIED RICE RECIPES
Salt and Pepper Shrimp Fried Rice
Japanese-style Garlic Bacon Egg Fried Rice
Leftover Chicken and Tofu Fried Rice
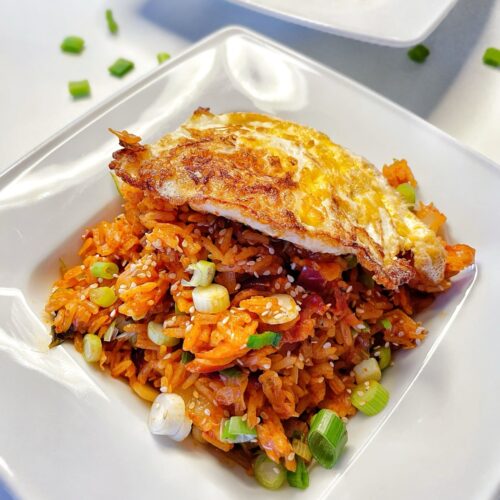
Korean Kimchi and Bacon Fried Rice
Ingredients
- 4 cups Cooked Jasmine Rice
- 100 g / 3.5 oz Bacon
- 1 cup Kimchi, cut in small pieces
- 1/3 cup / 80 ml Kimchi Juice
- 1/4 cup / 60 ml Fresh Water
- 1 tbsp Light Soy Sauce
- 1 or 1/2 of a Medium Red Onion, diced
- 3 tbsp Gochujang (Korean Spicy Sauce)
- 4 tsp Sesame Oil
- 2 Green Onions, cut in small pieces for garnish
- 1 tbsp Roasted Sesame Seeds
- Vegetable Oil for frying
- 2 Eggs, fried (or 4 if you are serving 4 people!)
Instructions
- Cook the Jasmine Rice in a pot on medium high – medium – low for about 15 minutes until the rice is well cooked. Transfer the cooked rice to a bowl and set aside to let it cool down a bit.
- Prepare the Bacon, Red Onion, and Kimchi.
- In a wok, on medium-high heat, add the Butter and Bacon, and fry until the Bacon is crispy.
- Add the Red Onion, stir fry for about 1 minute, and then add the Kimchi. Keep stirring.
- Stir in the Rice. Add the Kimchi Juice, Water, and Light Soy Sauce. Mix well.
- Add the spicy sauce Gochujang and mix well. Then add the Sesame Oil.
- Remove the wok from the heat. Add the Green Onions and Roasted Sesame Seeds for garnish.
- In a clean frying pan, fry the Eggs to your preference. I like the yolk to be medium well done.
- Add the Eggs on top! Ready to serve!
Video
Notes
- If you use a Rice Cooker, cook the rice according to its instruction.
- It is important to cook the bacon until crispy—but not burnt—to maximize its flavor and to achieve the most desirable texture.
- If you think this is too spicy for you, 2 tbsp of Gochugang is fine!
- The recipe is for 4 servings! But if you serve this as a side dish, it can be up to 8 or 10 servings. You can cut the eggs in half or add more eggs accordingly.


I tried this Kimchi and Bacon Fried Rice! It was superb! Thank you for the recipe!
Hi Amy, you’re welcome and thank you for the good news. I am glad!